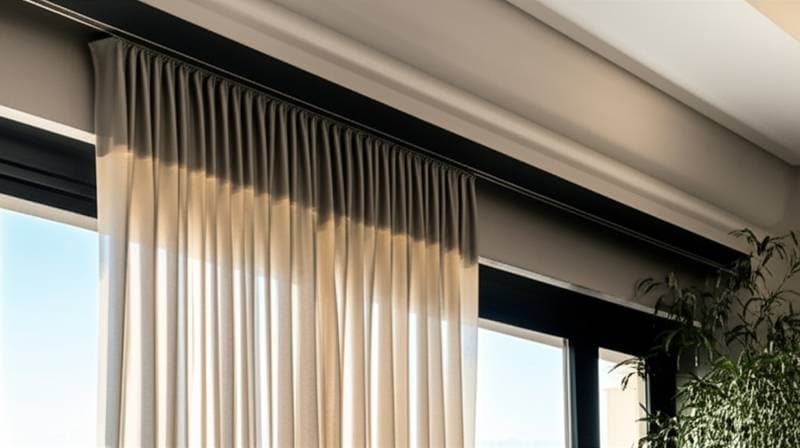
Why Motorized Curtain Tracks Outperform Manual Rods
Open and close curtains with a single touch, and the convenience becomes immediately apparent. Motorized tracks provide smoother operation, enhanced safety, and consistent performance for daily light control.
Manual rods often snag on fabrics, loosen over time, and accelerate wear on materials. This guide explains when motorized drapery tracks prove beneficial, details associated costs, and offers maintenance strategies. Before purchasing, evaluate whether the fabric and window configuration align with automation requirements.
Essential Information on Motorized Curtain Tracks
Motorized curtain tracks employ a compact, low-noise motor to glide drapery along a precision-guided rail. Control options include remote devices, wall-mounted switches, or integration with smart home systems. These tracks minimize direct fabric manipulation, thereby preserving material integrity over extended periods. Prior to installation, verify the availability of a secure power source near the window.
Required Tools and Materials
- Sturdy ladder or step stool for safe access
- Precise measuring tape for accurate dimensions
- Screwdriver or power drill for secure fastening
- Wall anchors and screws compatible with the surface material
- Complete motorized track kit including remote control
- Optional smart plug or hub to enable app-based operation
Installation Guide
-
Measure the window width precisely. Extend the measurement by at least four inches on each side to accommodate full coverage and efficient stacking of the curtains.
-
Assess power availability. Identify the closest electrical outlet or prepare a discreet extension cord solution to avoid visible wiring.
-
Mark mounting locations. Employ a level tool to ensure a perfectly straight line positioned above the window frame.
-
Secure the mounting brackets. Fasten them using appropriate screws and anchors based on the wall composition. The track must align flush and remain perfectly level for optimal function.
-
Install the motorized track assembly. Insert the track into the brackets until a secure click or locking mechanism confirms engagement.
-
Attach the curtain panels. Use clips or hooks to distribute the panels evenly along the track. Select configurations that avoid excessive weight from heavy pleats to prevent motor strain.
-
Connect power and perform initial tests. Operate the track through several open and close cycles to verify smooth alignment and functionality.
-
Configure operational limits. Adjust the system to define precise open and close positions, a feature available in most models.
-
Sync control devices. Adhere to the manufacturer's guidelines to pair the remote or mobile application with the track.
For troubleshooting, if curtains exhibit dragging or intermittent pauses, adjust a single hook position and retest prior to modifying the track alignment.
Best Practices and Common Pitfalls
Recommended Actions
-
Clean the track surfaces with a dry, soft cloth at intervals of every few weeks to prevent dust accumulation.
-
Disconnect the motor power supply before attempting any adjustments or repairs.
-
Opt for lightweight to medium-weight fabrics to promote extended motor durability.
-
Conduct a quiet test run of the curtain movement prior to completing the final mounting.
Actions to Avoid
-
Refrain from applying liquid cleaners or lubricants directly to the track components.
-
Do not exceed the manufacturer's specified weight capacity with multiple layers of drapery.
-
Avoid wrapping or coiling the power cord around brackets or other fixtures.
-
Install away from areas with high humidity or steam exposure unless the system includes appropriate weatherproofing seals.
Professional Installation Considerations
Engage a qualified installer for scenarios involving new electrical wiring, recessed ceiling integrations, or connections to broader home automation networks. Seek expert assistance for tracks exceeding standard residential lengths or when handling exceptionally heavy curtain materials. Improper setup risks motor failure or warranty invalidation, underscoring the value of professional intervention in complex cases.
Cost and Time Estimates
Budget between $150 and $600 for a typical window installation, with variations based on track length, motor power, and advanced control features. Smart-enabled models or custom-length rails increase expenses accordingly. A straightforward setup requires one to two hours of active work, allowing for measurements, mounting, and testing phases.
Ongoing Maintenance Strategies
-
Gently wipe the track rails each month to eliminate dust buildup and ensure smooth gliding.
-
Inspect and tighten mounting screws biannually to maintain structural integrity.
-
Monitor for signs of sluggish or irregular movement, which may indicate component wear or misalignment.
-
Replace remote control batteries annually or promptly upon noticing delayed responses.
-
Recalibrate the open and close limit settings following any electrical interruptions to restore precise operation.
Benefits of Daily Use
After installation, mornings proceed with reduced noise and eliminate the need for manual fabric adjustments. Motorized tracks maintain consistent drapery alignment while prolonging fabric lifespan through gentle handling. As interior designer Carla Nguyen of Bright Interiors observes, automation excels when it integrates seamlessly, enhancing everyday routines without drawing attention.
Begin the upgrade with a single window to experience the transformation firsthand. The ability to control every curtain from a seated position reveals the compelling shift many households make from traditional rods to automated tracks for superior efficiency and elegance.