Enhancing Rest Through Precise Light Control
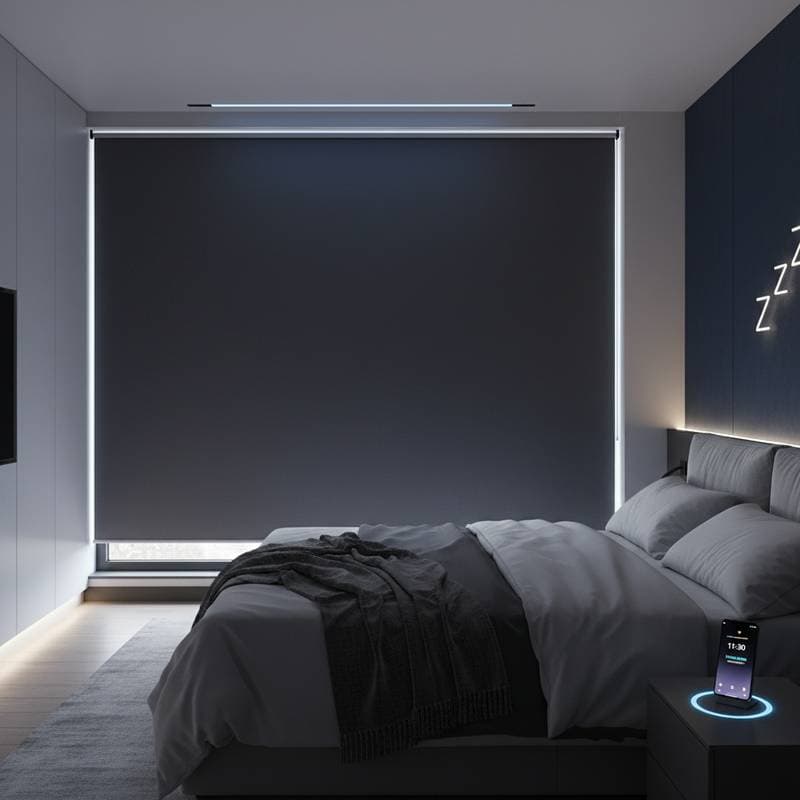
Effective sleep begins with managing light exposure. Motorized blackout shades provide complete darkness at the press of a button, transforming ordinary bedrooms into dedicated rest spaces.
Individuals who rise prematurely due to morning sun or endure disturbances from external lights benefit most from this solution. The following sections outline the mechanics of these shades, essential purchasing considerations, and strategies for long-term performance.
While not suited for every window configuration, such as those lacking power access or featuring fragile trim, adaptations exist for most residential settings.
Essential Features and Considerations
Motorized blackout shades eliminate virtually all incoming light and rely on an electric motor powered by batteries, a plug-in adapter, or direct wiring. These systems excel in bedrooms, where sustained darkness fosters improved sleep cycles. Verify window frame depth prior to purchase to minimize potential light seepage. Adhere to electrical safety protocols, and engage a licensed electrician for any hardwired installations.
Required Tools and Materials
- Measuring tape
- Level
- Screwdriver or drill equipped with the appropriate bit
- Mounting brackets and hardware, typically supplied with the shade
- Battery pack or power cord
- Remote control or wall switch
- Ladder or step stool
- Optional: smart hub for application or voice-activated operation
Opt for a rechargeable battery pack in areas without convenient outlets. Renters may select no-drill adhesive brackets to preserve surfaces.
Detailed Installation Guide
1. Conduct Precise Measurements
Assess window width at the top, middle, and bottom positions, then select the smallest measurement for shade sizing. For height, measure from the interior top edge to the sill for inside mounting, or from above the trim to below the sill for outside mounting. Precision here ensures no light penetrates along the edges.
2. Select Power Source
Evaluate options including battery-operated, plug-in, or hardwired systems. Battery models simplify setup in standard homes and maintain functionality for months on a single charge. Plug-in variants fit rooms with accessible outlets. Hardwired installations integrate best during renovations or construction phases.
3. Verify Fit Prior to Bracket Attachment
Position the shade temporarily to assess clearance around trim, handles, or existing rods. Pencil-mark bracket locations. Confirm alignment with a level to guarantee even operation.
4. Secure the Brackets
Drill pilot holes as needed, then fasten brackets with supplied screws. Secure tightly without excessive force, which might damage wood or drywall.
5. Attach the Shade Mechanism
Insert the headrail into the brackets via snap or slide mechanism until secure. Test stability with a gentle pull. Install with fabric fully retracted to prevent wrinkles.
6. Establish Power Connection
Follow manufacturer guidelines to connect the battery or cord. Route cables along the frame or conceal behind furnishings for an unobstructed appearance. For hardwired setups, halt and summon an electrician at this stage.
7. Configure Controls
Pair the remote, switch, or application per instructions. Operate open and close cycles to verify response. Set travel limits so the shade aligns precisely with the sill and frame top.
8. Evaluate Light Blockage
Extinguish room lights and inspect for gaps. Install side channels if necessary; these slim guides seal edges for absolute darkness.
9. Set Automated Routines
Program open and close schedules via application or voice system. Such automation maintains consistent sleep and wake patterns without intervention.
Best Practices and Precautions
Recommended Actions
- Measure with care prior to ordering to avoid returns and additional expenses.
- Clean the fabric using a soft cloth or vacuum brush attachment to prevent dust accumulation.
- Monitor battery levels every few months to ensure prompt motor response.
- Assess Wi-Fi signal strength at the window location for smart functionality.
Actions to Avoid
- Refrain from applying liquid cleaners directly to the fabric.
- Do not connect multiple motors to a single outlet.
- Avoid forcing the shade during operation; inspect for blockages instead.
- Steer clear of installing substantial shades on compromised plaster or frames.
Situations Requiring Professional Assistance
Engage experts for windows involving pre-existing wiring, oversized custom sizes, or constrained trim areas. Professionals manage hardwired connections and compatibility with comprehensive home automation. Inspect for moisture or structural issues in ceilings or walls near the window before proceeding with any installation.
Investment and Timeline Overview
Budget ranges from $150 to $500 per window, influenced by dimensions, motor specifications, and controls. Entry-level battery units remain affordable, whereas bespoke fabrics or advanced hubs increase costs. Self-installation requires 30 to 60 minutes per window after gathering materials. Added wiring or configuration extends both time and expense.
Primary factors affecting price include:
- Shade dimensions and fabric opacity
- Motor variety and control mechanisms
- Requirements for side channels or tailored fittings
- Electrical demands or automation linkages
Ongoing Care Routine
Maintenance Schedule
- Monthly: Wipe down with a microfiber cloth or use a brush attachment for dusting.
- Quarterly: Recharge or swap batteries; tighten mounting hardware.
- Annually: Examine cords and channels for deterioration.
- Trouble Indicators: Hesitant movement, irregular rolling, or emerging light gaps warrant attention.
For unresolved problems post-cleaning or power refresh, perform a motor reset as directed or seek technical support.
Insights from Sleep Specialists
Dr. Lena Ortiz, certified sleep consultant at RestWell Clinic, emphasizes the role of total darkness in promoting profound rest. “Even small amounts of light tell your brain to stay alert,” she said. Blackout shades eliminate such signals, allowing natural melatonin production. She further notes that automated scheduling reinforces circadian rhythms through reliable wake times.
Studies from leading sleep organizations affirm these principles. Darkness prompts physiological rest, whereas premature light exposure diminishes sleep efficacy. Motorized blackout shades facilitate sustained darkness until the desired wake time, regardless of external brightness.
Integrating Shades into Your Living Space
These shades complement diverse aesthetics. Roller styles deliver sleek modernity, while Roman variants introduce gentle folds. Both accommodate blackout linings and motorized drives. Select neutral hues for seamless blending or deeper shades for enhanced light absorption and visual depth.
Layer with existing curtains for added softness and hardware concealment. In nurseries, incorporate side channels to prevent minor gaps from disrupting infant sleep. Within smart ecosystems, link shades to climate controls for energy efficiency or lighting sequences for seamless transitions. For minimalism, a bedside remote suffices without broader connectivity.
Resolving Frequent Challenges
Should a shade halt midway, verify power supply first by replacing batteries or checking plugs. Grinding noises suggest track debris; disconnect power before clearing. Uneven motion calls for recalibrating limit settings via remote.
Expert Recommendations for Optimal Results
- Position mounts flush to the frame for maximum light exclusion.
- Prioritize flame-retardant fabrics compliant with local regulations.
- Employ surge protectors for plug-in units to safeguard against power fluctuations.
- Assign labels to remotes or app sections for multi-room clarity.
- Validate all operations prior to adding surrounding treatments.
Embracing the Benefits of Automated Darkness
Installed motorized blackout shades streamline daily light management. Rest occurs in chosen obscurity, and daylight enters only upon readiness, fostering sustained well-being and routine harmony.